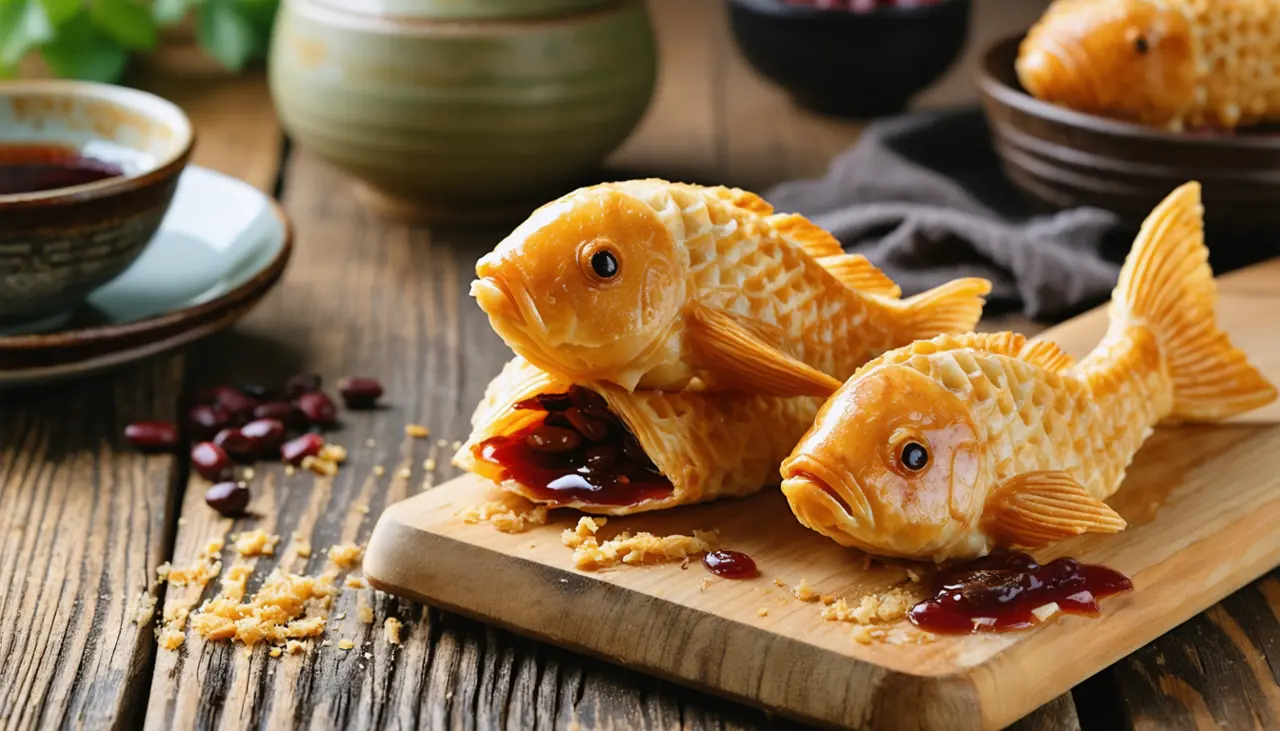
Taiyaki
Petits gâteaux en forme de poisson, croustillants à l'extérieur, fourrés à la pâte de haricots rouges sucrée.
Portions
Ingrédients
Nutrition
Par portion
Étapes
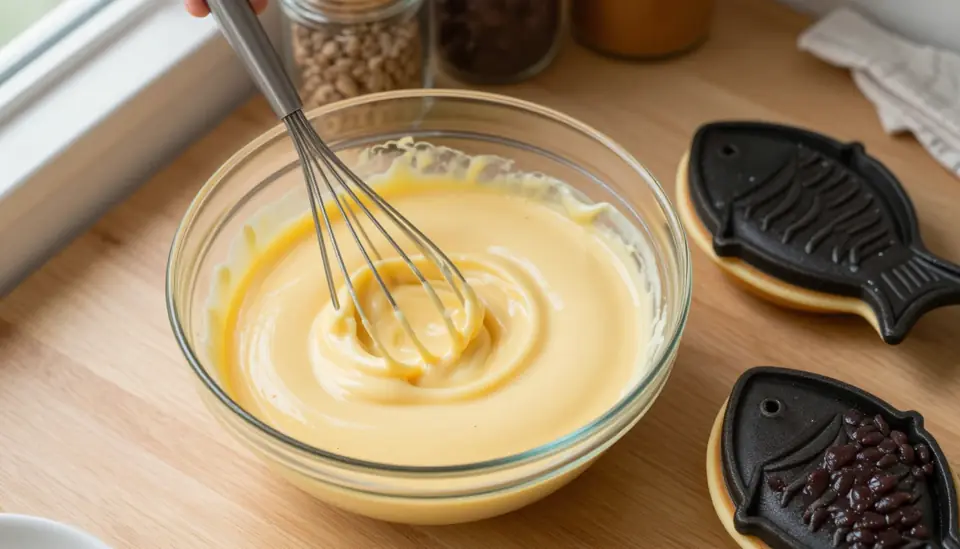
Mix the batter
In a bowl, whisk the flour, baking powder, baking soda and salt. In another bowl, whisk the egg with the sugar, milk and honey until smooth, then pour the wet mix into the dry ingredients. Whisk just until combined; a few small lumps are fine, since overmixing makes the taiyaki tough instead of light.
- 200 g flour
- 1 tsp baking powder
- 1/2 tsp baking soda
- 1 pinch salt
- 2 tbsp sugar
- 1 egg
- 250 ml milk
- 1 tbsp honey
✅ C'est prêt quand : batter is smooth with at most a few tiny lumps
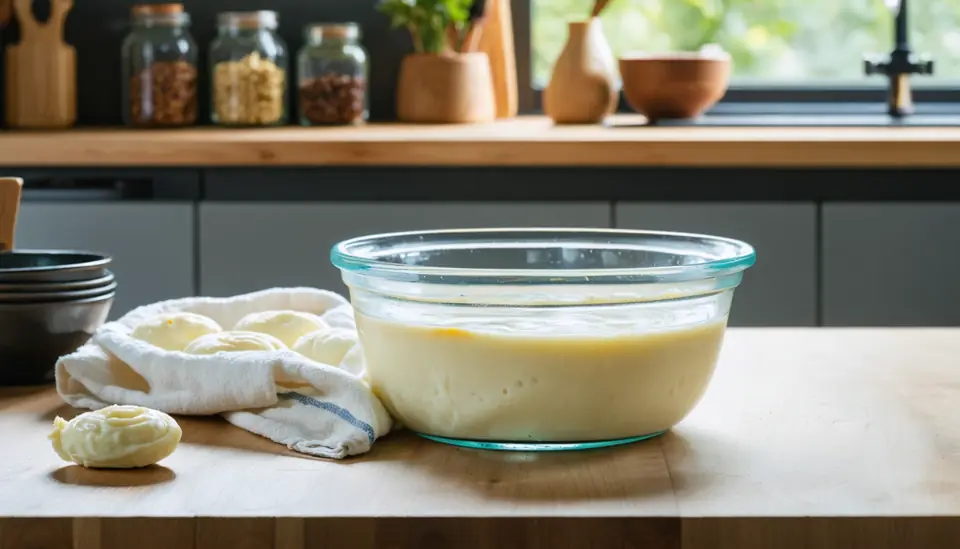
Rest the batter
Cover the bowl and let the batter rest for 15 minutes at room temperature. This relaxes the gluten and lets the baking powder start working gently, so the cakes puff up tender instead of dense.
- all of it the batter from step 1
✅ C'est prêt quand : 15 minutes have passed; batter looks slightly thicker
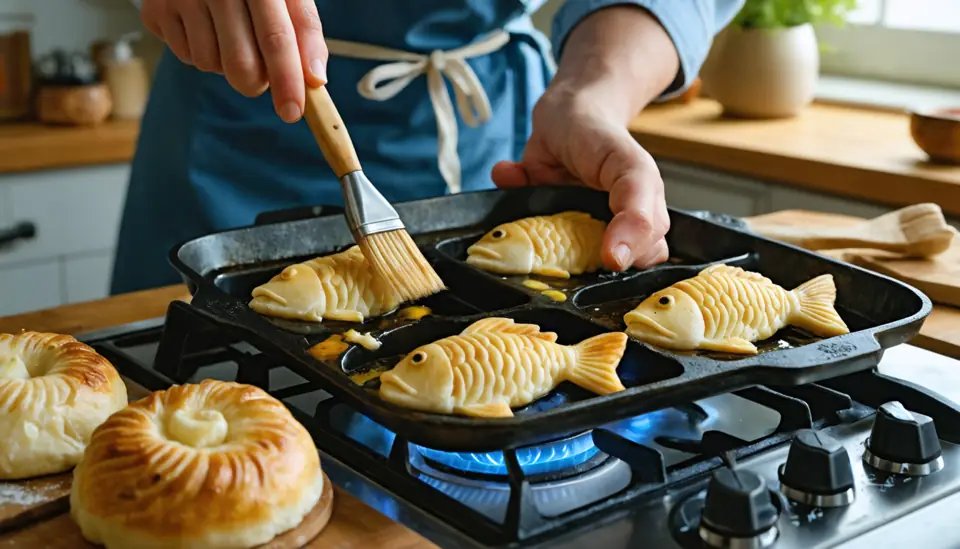
Heat the taiyaki pan
Heat a taiyaki pan, or a stovetop fish-waffle mould, over medium heat for 2–3 minutes, then brush both sides generously with oil. The pan is ready when a drop of batter sizzles gently but does not smoke; too hot and the outside burns before the inside cooks.
- as needed neutral oil
✅ C'est prêt quand : a drop of batter sizzles gently without smoking
Fill the moulds
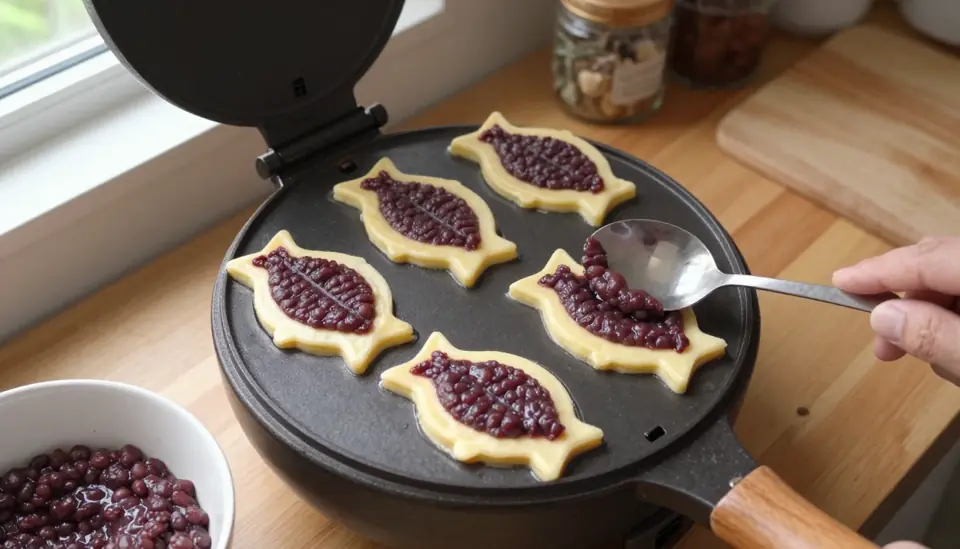
Spoon a thin layer of batter into each fish mould, just enough to cover the base, then add about 1 tablespoon of red bean paste down the centre, leaving the edges clear. Top with more batter to fully cover the filling and close the lid; this makes about 6 cakes, so divide the 300 g of paste evenly among the moulds you fill.
- remaining batter the batter from step 1
- 300 g red bean paste
✅ C'est prêt quand : filling is fully covered by batter and the lid closes easily
Cook until golden
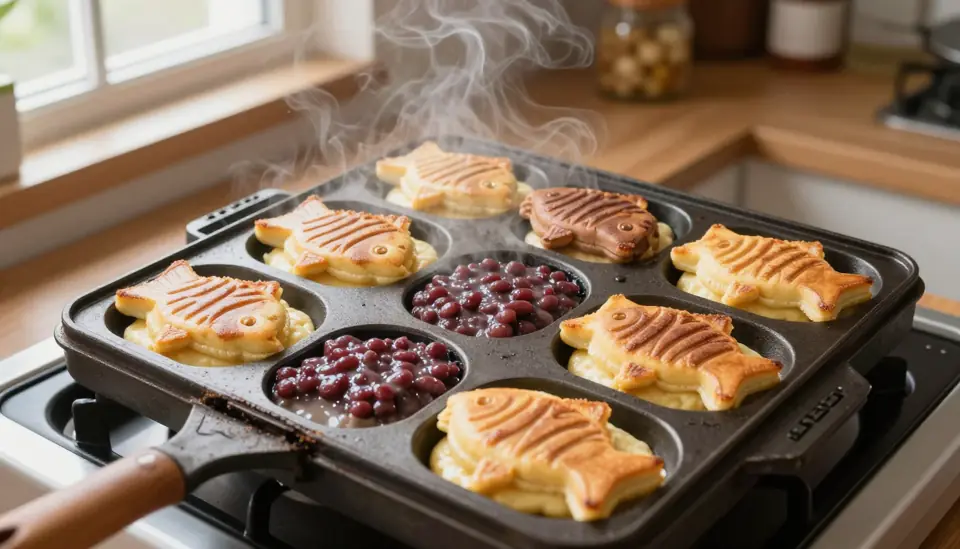
Cook over medium-low heat, turning or flipping the pan every 2–3 minutes, for 8–10 minutes total until both sides are deep golden brown and the edges are crisp. Keep the pan closed for the first few minutes, or the taiyaki can tear apart.
- all of it the filled moulds from step 4
✅ C'est prêt quand : both sides are deep golden brown and edges are crisp
Unmould and serve
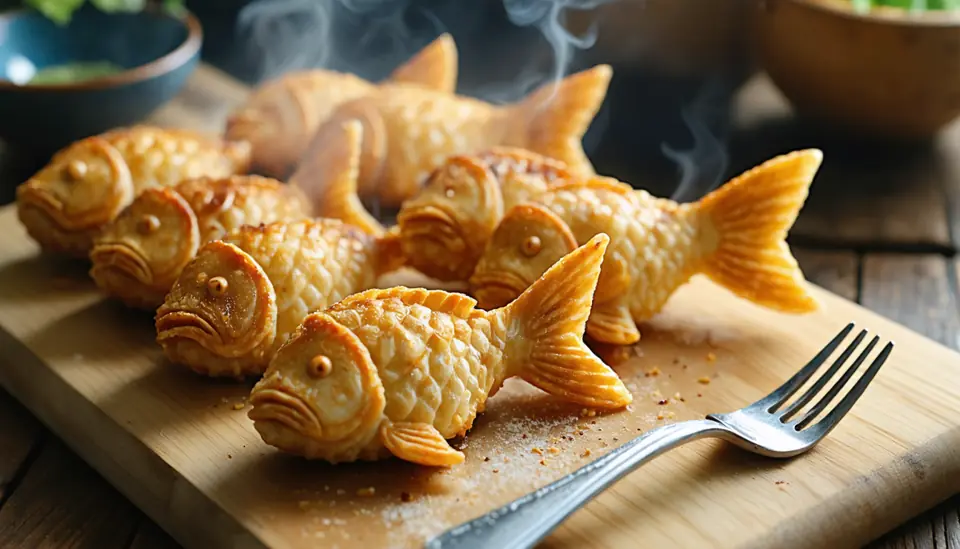
Carefully run a fork around the edge of each taiyaki to loosen it, then lift it out of the mould. Serve right away while the outside is still crackly-crisp and the filling is warm.
- all of it the cooked taiyaki from step 5
Mix the batter
In a bowl, whisk the flour, baking powder, baking soda and salt. In another bowl, whisk the egg with the sugar, milk and honey until smooth, then pour the wet mix into the dry ingredients. Whisk just until combined; a few small lumps are fine, since overmixing makes the taiyaki tough instead of light.
- 200 g flour
- 1 tsp baking powder
- 1/2 tsp baking soda
- 1 pinch salt
- 2 tbsp sugar
- 1 egg
- 250 ml milk
- 1 tbsp honey
✅ C'est prêt quand : batter is smooth with at most a few tiny lumps
Rest the batter
Cover the bowl and let the batter rest for 15 minutes at room temperature. This relaxes the gluten and lets the baking powder start working gently, so the cakes puff up tender instead of dense.
- all of it the batter from step 1
✅ C'est prêt quand : 15 minutes have passed; batter looks slightly thicker
Heat the taiyaki pan
Heat a taiyaki pan, or a stovetop fish-waffle mould, over medium heat for 2–3 minutes, then brush both sides generously with oil. The pan is ready when a drop of batter sizzles gently but does not smoke; too hot and the outside burns before the inside cooks.
- as needed neutral oil
✅ C'est prêt quand : a drop of batter sizzles gently without smoking
Fill the moulds
Spoon a thin layer of batter into each fish mould, just enough to cover the base, then add about 1 tablespoon of red bean paste down the centre, leaving the edges clear. Top with more batter to fully cover the filling and close the lid; this makes about 6 cakes, so divide the 300 g of paste evenly among the moulds you fill.
- remaining batter the batter from step 1
- 300 g red bean paste
✅ C'est prêt quand : filling is fully covered by batter and the lid closes easily
Cook until golden
Cook over medium-low heat, turning or flipping the pan every 2–3 minutes, for 8–10 minutes total until both sides are deep golden brown and the edges are crisp. Keep the pan closed for the first few minutes, or the taiyaki can tear apart.
- all of it the filled moulds from step 4
✅ C'est prêt quand : both sides are deep golden brown and edges are crisp
Unmould and serve
Carefully run a fork around the edge of each taiyaki to loosen it, then lift it out of the mould. Serve right away while the outside is still crackly-crisp and the filling is warm.
- all of it the cooked taiyaki from step 5
The Story Behind the Dish
Taiyaki is said to have been created in Tokyo in the early twentieth century by a shop owner looking for a way to sell sweet red bean filling in individual, affordable portions. He shaped the batter like tai, the sea bream, a fish long linked in Japan with celebration and good fortune, which made the little cakes feel festive even as everyday street food.
From there, taiyaki spread through festival stalls and neighbourhood shops across the country, each vendor with their own well-worn, heavy iron mould passed down through the years.
⭐ Why It's Famous
The contrast between the thin, crisp, almost caramelised shell and the soft, warm red bean filling inside is what keeps people queuing at taiyaki stalls, and what makes the homemade version worth the little bit of practice it takes.
💡 Fun Fact
Modern taiyaki shops now fill the fish with everything from custard to chocolate to melted cheese, but the original red bean version remains the one most people picture first.
Tokyo, Japan
35.69°N, 139.69°E
Recettes similaires
Comments (0)
No comments yet. Be the first to share your thoughts!